Artwork → Metal → Finish

Start with the artwork. Choose the process together.

Flat logo or sculpted shape? Solid colours or a gradient? A magnetic marker or a standalone piece? These questions help narrow the manufacturing route before you commit to tooling.

01 / Shape comes first

Thin and flat, or thick and sculpted?

A useful starting question, not a complete specification. Stamping relies on press force, and too much force cracks the metal, so stamping is limited to simple relief. Die casting pours molten zinc alloy into a two-part steel mold, so it can carry deep relief, undercuts, cut-outs and full 3D. That physical limit is why thin goes to iron and thick goes to zinc alloy.

Route A1

Iron / stamped forms

Flat ball markers, badges and other shallow-relief pieces. A steel die presses the relief in, then a blanking die cuts the outline: crisp lines, wear-resistant, and iron is attracted to a magnet. Watch-out: only simple relief; too much press force cracks the metal.

Flat and shallow relief
Iron or zinc alloy guide
Route B2

Zinc alloy / cast forms

Shaped hat-clip bodies, thicker medals, openers and three-dimensional detail. Molten zinc alloy fills a closed steel mold, so relief, undercuts and cut-outs are possible. Watch-out: zinc alloy is not attracted to a magnet like iron — the attachment is designed as an assembly.

Thick and sculpted
Iron or zinc alloy guide

02 / Choose how the artwork appears

Five ways to colour the metal — and one design rule.

Filled colour, whether soft enamel or imitation hard enamel, is the same operation: colour is dispensed into recesses and baked. Print is a different route for artwork the fill cannot reproduce. Each card gives how it works, what it suits and the limit to check before you approve.

Soft enamel1

Filled and baked — you feel the metal edges

How: colour is dispensed into the recesses after stamping or casting, then baked. Suits: company pins, event and collector badges — the industry’s mainstream process. Limit: one recess, one colour; optional epoxy dome for protection.

Textured · low cost
Ask about soft enamel
Imitation hard enamel2

Same fill, one extra polish — a flat face

How: soft enamel plus a barrel polish that grinds the metal flush with the colour, so the surface is smooth. Suits: company, commemorative and collector badges that want a smooth face without cloisonné cost. Limit: same one-colour-per-recess rule.

Smooth · mid cost
Ask about a smooth face
Hard enamel (cloisonné)3

Fired glass enamel, ground flat

How: enamel powder is fired at high temperature, then stoned flat and plated. Suits: medals, police and military insignia, premium commemoratives; the colour does not fade. Limit: the slowest and most costly route; confirm that a “hard enamel” quote means true cloisonné.

Glossy · highest cost
Ask about cloisonné
Print / UV4

For gradients and lines too fine to fill

How: artwork is printed directly on the metal face, usually under an epoxy dome. Suits: gradients, photographs and lettering too fine for a filled recess — the two cases where filled colour cannot be made. Limit: a flat surface; discuss the protective coating and intended use.

Flat · low cost
Ask about print
No colouring5

Plating and polish do the work

How: the piece is finished by plating alone — mirror polish, antique or satin effects, laser engraving. Suits: minimal logos and briefs where the metal itself is the point. Limit: relief and finish carry the whole design, so approve them on a sample.

Metal only · lowest cost
See plating finishes
Design rule6

One recess, one colour, a metal line around every colour

Filled colour needs a metal wall around each colour area. If two colours in your logo touch with no metal line between them, the piece cannot be filled — it goes to print, or the artwork is redrawn with separating lines. This is the first thing we check on your file.

Check before tooling
Send your artwork for a check
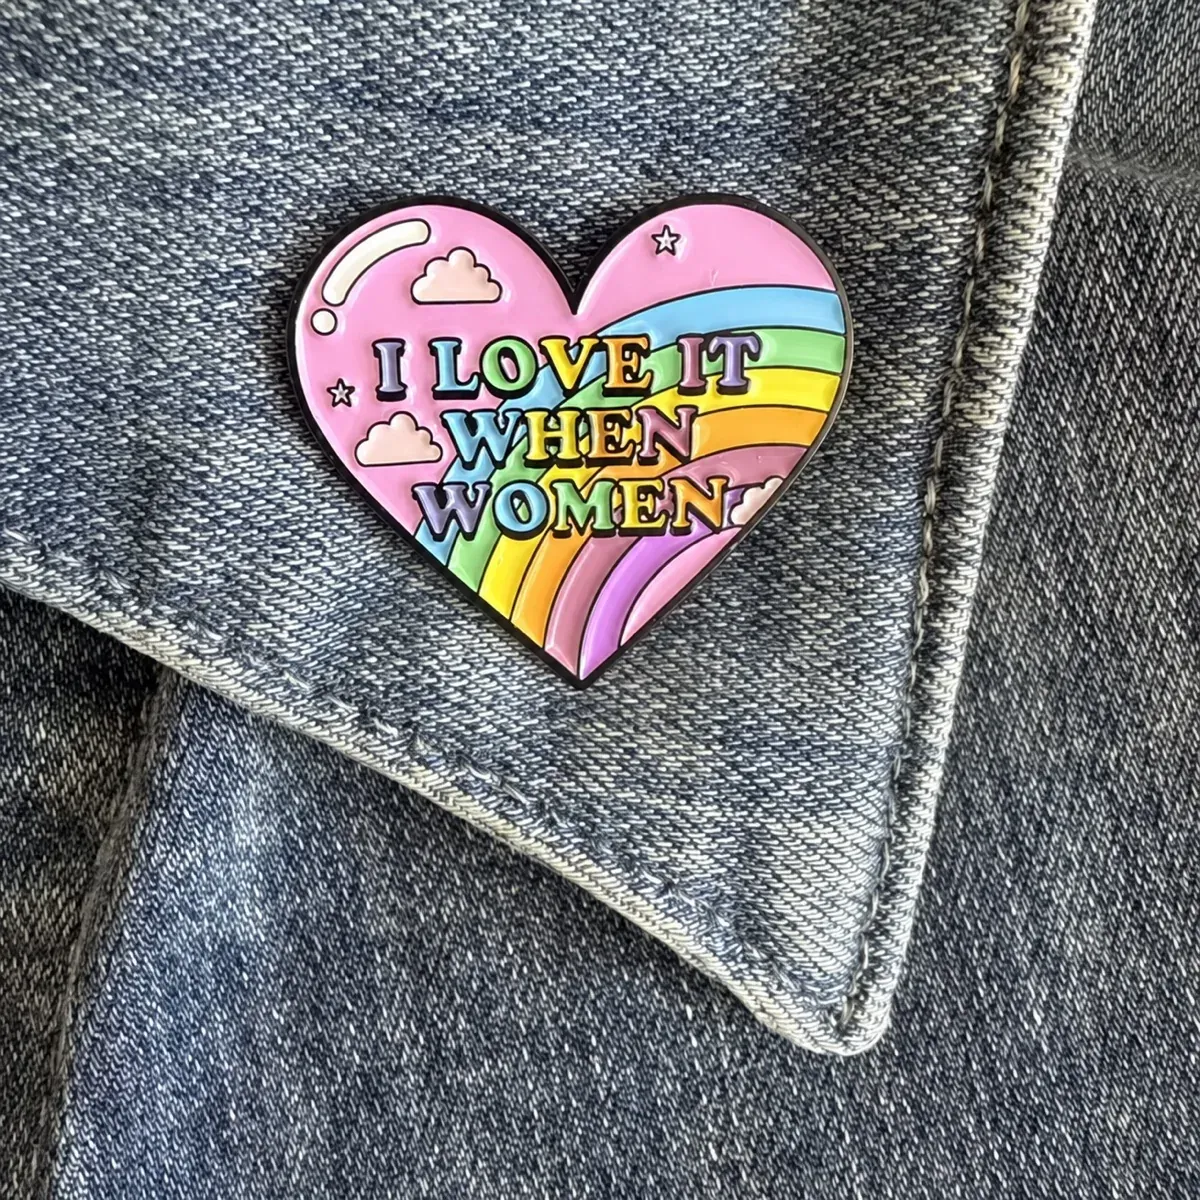
pin-badge-worn.webp

Soft enamel or imitation hard enamel?

Same colour fill. One extra polish. Textured or flat.

Buyers mix these two names up most often. Both dispense colour into the recesses and bake it. Soft enamel stops there, so the colour sits below the metal lines and you can feel the edges. Imitation hard enamel adds a barrel polish that grinds the metal flush with the colour, so the face is flat and smooth.

Choose soft enamel when

A textured, tactile face suits the brief and cost matters — pins, event badges, markers.

Choose imitation hard enamel when

A smooth face is wanted without the cost and lead time of fired cloisonné.

Choose print when

The artwork has gradients, photographic detail or lines too fine to fill.

Compare on a sample of your own artwork
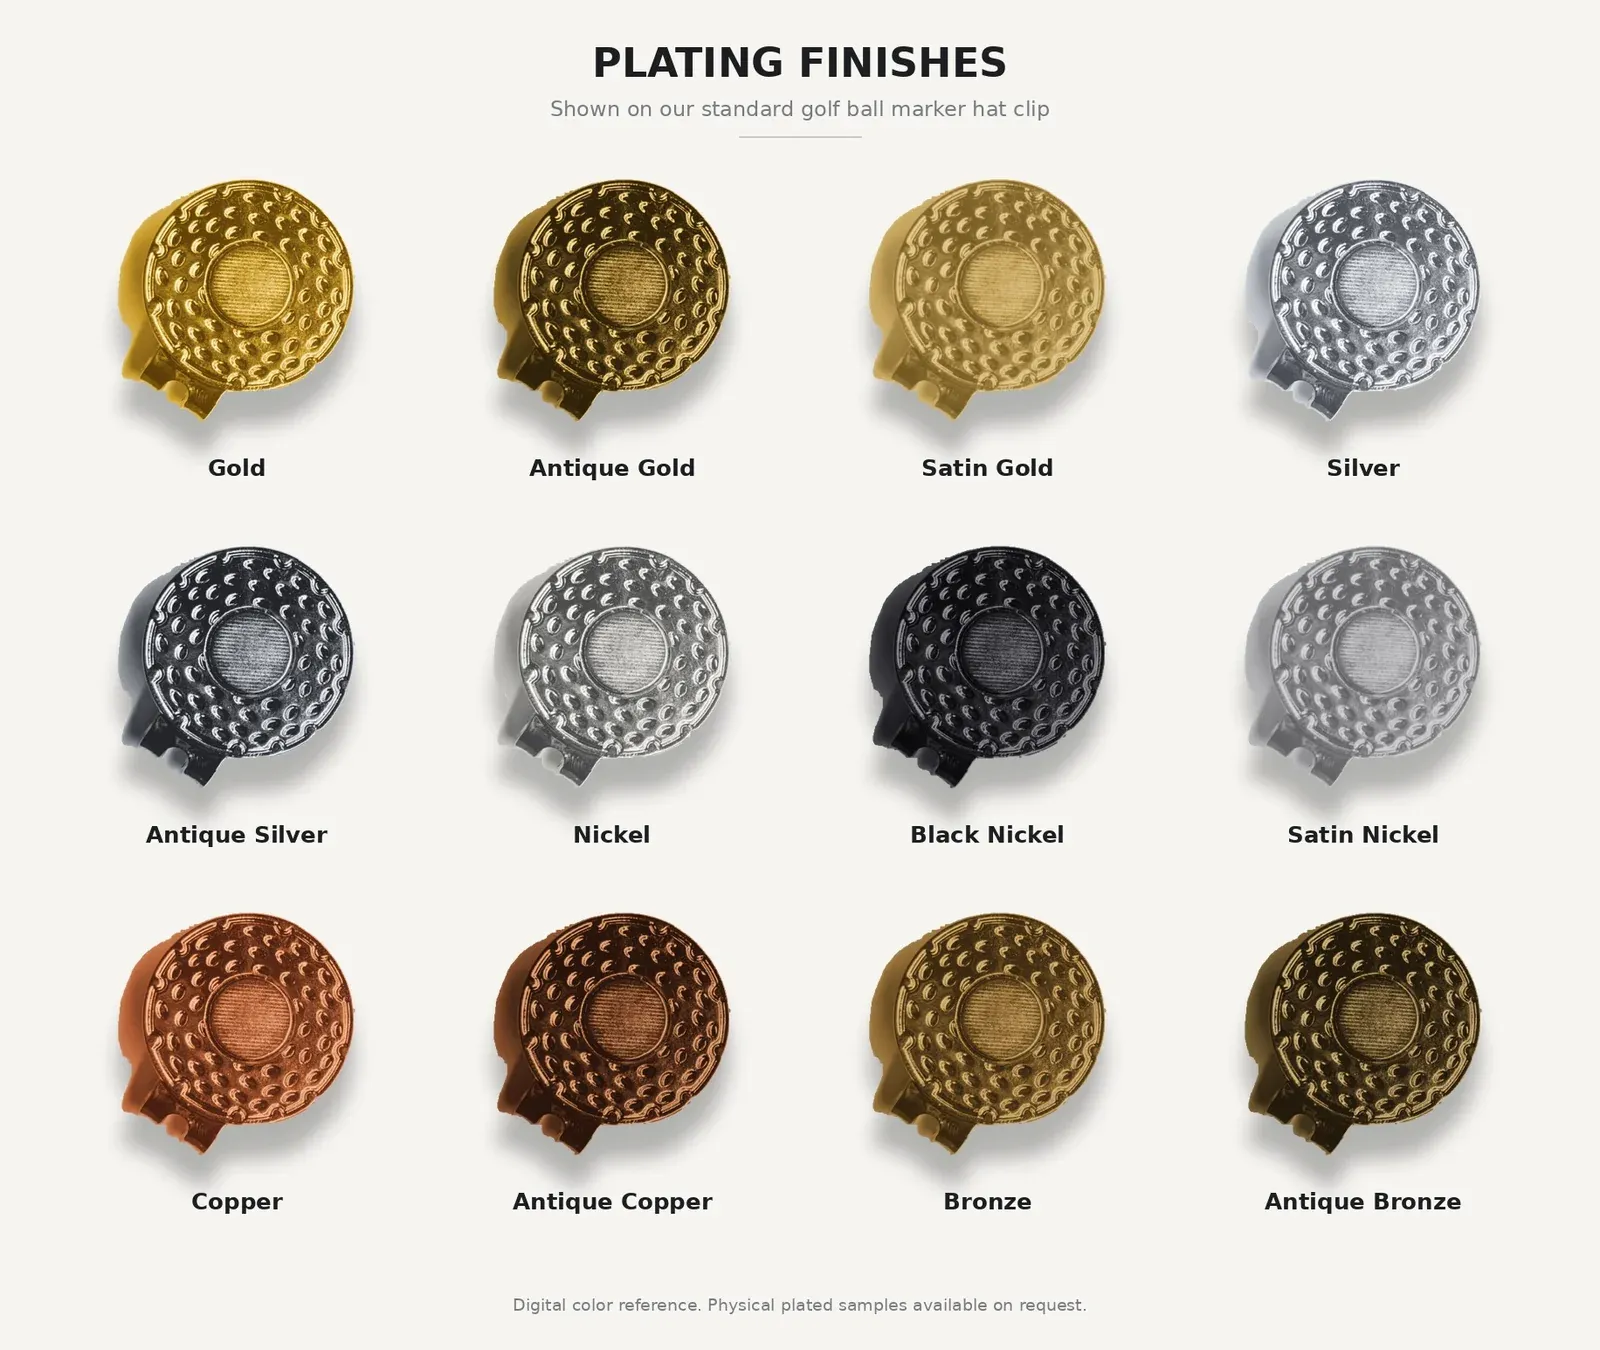
plating-finishes-board.webp

03 / Plating sets the metal colour

Twelve plating finishes on one hat clip.

The plating layer is what your buyer sees and touches, and it decides how the piece ages. The same part is shown here in twelve finishes so the differences can be compared side by side. Digital colour reference; physical plated samples are available on request. A finish name is not a specification for precious-metal content, coating thickness or corrosion performance — agree the finish against a sample.

Gold family

Gold · antique gold · satin gold · imitation gold · pearl gold · real gold plating

Silver & nickel family

Silver · antique silver · nickel · antique nickel · black nickel · satin nickel · pearl nickel · chrome · satin chrome

Copper & bronze family

Copper · antique copper · bronze · antique bronze · antique pewter · antique zinc

Two-tone & special

Two-tone plating such as nickel + gold or nickel + copper · electrophoretic black · mirror polish · laser engraving

Request plated samples
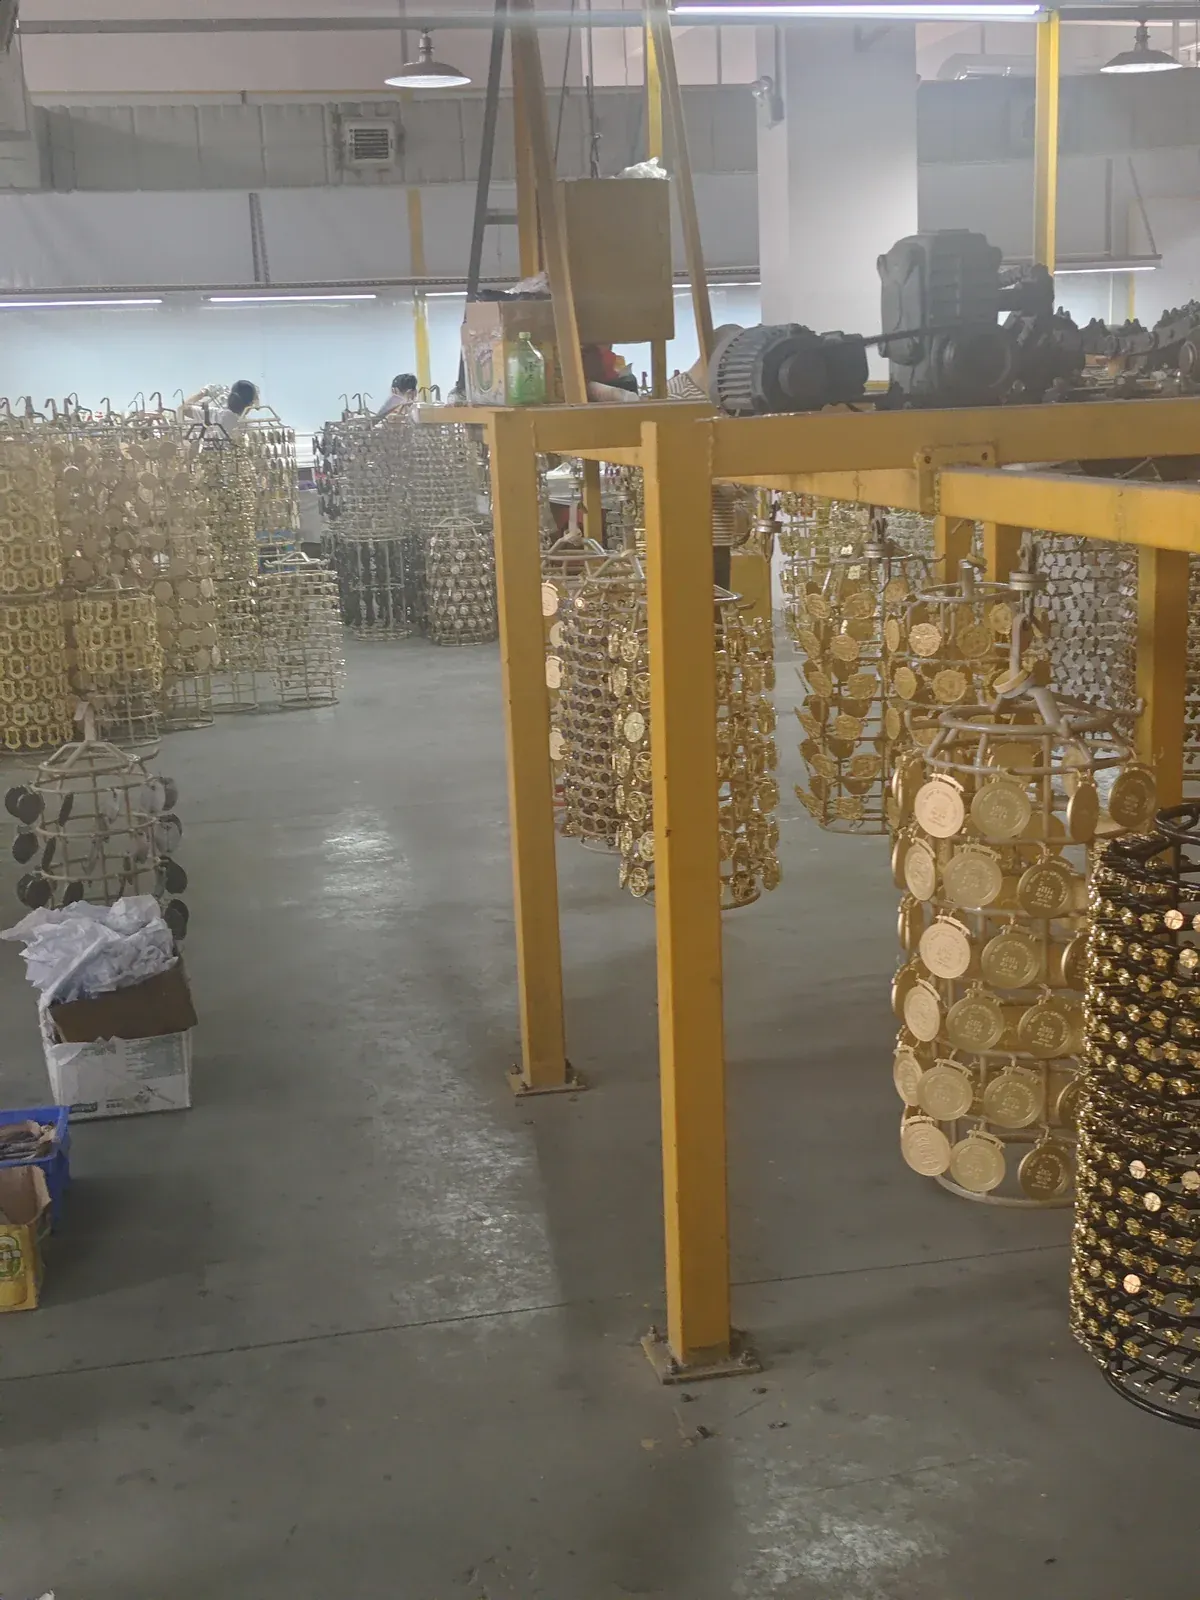
plated-parts-rack.webp

How plating happens

Racked, plated, checked — by a separate plating workshop.

Polished blanks are hung on racks and lowered into the plating bath; the colour changes as the layer builds. Plating is carried out by an external plating workshop, so the agreed sample is the specification. Antique effects add a darkening and hand-relief step after plating.

What plating decides

The visible colour, the feel, and whether the piece tarnishes or rusts over time.

What to approve

Colour against the swatch, then the plated sample of your own part — including edges and recess walls.

See the factory route
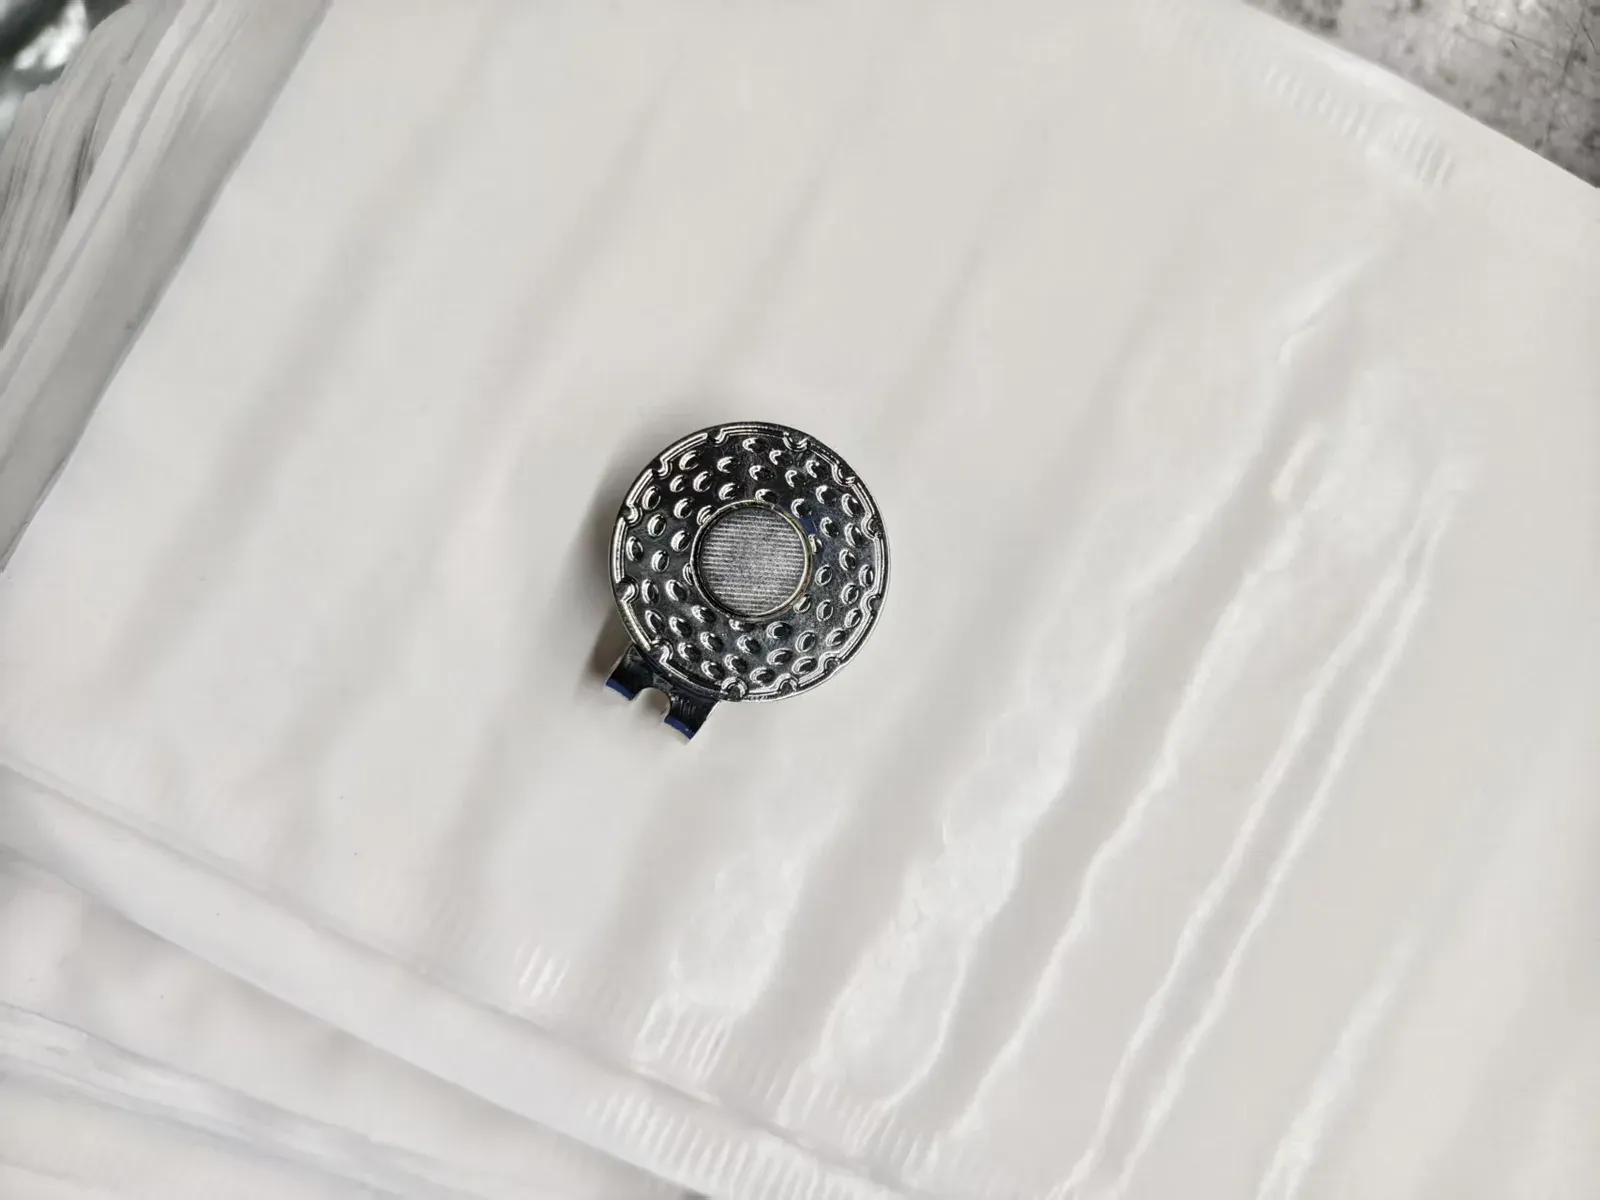
hat-clip-front-magnet.webp

04 / Design the attachment with the piece

A marker and hat clip work as a pair.

Marker thickness, contact area, magnet placement and the clip opening all matter. Check retention and removal on an assembled sample; material choice alone does not establish performance.

Marker thickness and contact area

Both change how firmly the marker sits on the magnet.

Magnet placement and clip opening

Approve the assembled fit, not the two parts separately.

Hat clip fit: what to check on the sample

05 / From tooling to colour

The route documented in our workshop notes.

Mold making → stamping or casting → trimming and polishing → plating → colour. Plating is carried out by an external plating workshop. The exact sequence depends on the specified process.

01
Artwork
Logo, sketch or reference image, with the intended shape and size.
02
Mold
A three-dimensional design becomes engraved tooling.
03
Stamp or cast
Iron stamping or zinc-alloy casting, chosen by shape.
04
Trim and polish
Blanks are trimmed, deburred and polished.
05
External plating
The metal colour is applied by a separate workshop.
06
Colour
Enamel or print follows the approved artwork.

Before we quote, send these details

A logo, sketch or reference image is enough to begin.

Not sure which route fits? Send your artwork with the brief. We can discuss the manufacturing route and the details that need confirming before tooling.

011

Your design

Artwork, intended shape and approximate finished dimensions.

Any format to start
Send your artwork
022

Your order

Quantity, destination and the date the goods must be in hand.

Drives the quotation
Prepare your enquiry
033

Your finish

Colour, attachment and packaging preferences — or tell us what you are unsure about.

Confirmed against samples
Read the buyer guides

Start with a brief

Bring us the artwork. Let’s work through the details.

Include quantity, destination and your required in-hand date. Commercial terms are confirmed in the quotation.

Email
facieyhuang@gmail.com
WhatsApp
+86 132 4389 5605
Workshop
China
Who we work with
Brands, businesses, event organisers, distributors and anyone planning a custom metal project.

Prepare your enquiry

Send the brief behind the artwork

Share the product, quantity, destination and in-hand date. If the design is still taking shape, tell us the intended product and the questions you need answered.

0/120
0/1200